Monday, May 20, 2013

Wheek! Wheek!


I know, I know - I've been seriously slacking here! Time sure flies when you're having fun! Life here in Old Ypsi has been busy, busy, busy, and Spring has only just sprung.

Big news in the Clayton-Olsson household: We're parents! To furbabies, of course ;) On March 15th we brought Lemmiwinks (sometimes Lemmy or Winksy) home, and then on May 4th we adopted Charlie.

Sharing a snuggle sack


Aren't they absolutely PRECIOUS?! If you've never had a guinea pig, I highly recommend them! We can't have dogs here so that's what led us to our decision to get pigs, and I don't regret it one bit. My obsession with dogs has even been curbed quite a bit.

Piggies are so funny, social, loving, and snuggly! And you don't have to take them out to potty! They're very low maintenance (especially if you use fleece bedding) and aren't odorous like some other small mammals. They're just to die for. Mike and I were both new to the guinea pig world and now we're so hooked on our little guys. They bring so much joy to our home and lives every single day.

I've been researching like crazy since before we brought Lemmy home and you wouldn't believe how cavy savvy I've become. I'm a crazy piggy lady!!

Wednesday, April 3, 2013

Chicken Parmesan Casserole from EmilyBites.com

This lovely recipe is a wonderful adaptation by EmilyBites.com. The original recipe is from Food.com, but I like Emily's much better! And it's only 8 Weight Watchers+ points per serving! I highly recommend checking out EmilyBites.com for more great, healthier recipes that don't skimp on the flavor!

EmilyBites.com

  • 2 lbs raw boneless, skinless chicken breasts, cubed
  • 2 cloves garlic, minced
  • ¼ t crushed red pepper flakes (or more to taste if you want it hot)
  • ¼ cup fresh basil, finely chopped (I used the kind from the spice aisle as that was what I had on hand)
  • 2 cups marinara/pasta sauce
  • 1 ½ cups 2% reduced fat shredded mozzarella cheese, divided
  • 2 oz Parmesan cheese, freshly grated, divided (I used the kind from the shaker lol)
  • 3.5 oz garlic croutons, roughly crushed, leaving some larger pieces
  1. Preheat oven to 350 degrees. Lightly mist a 9 x 13 baking dish with cooking spray.
  2. Spread the cubed pieces of chicken across the bottom of the baking dish in a single layer.
  3. Sprinkle the minced garlic, red pepper flakes and basil evenly over the chicken.
  4. Spread the sauce evenly across the top.
  5. On top of the sauce layer, sprinkle ¾ cup of the Mozzarella and one ounce of the Parmesan evenly across the dish.
  6. Sprinkle the crushed croutons across the top and follow with the remaining cheese.
  7. Bake for 40-45 minutes. Let stand for 5 minutes before serving.

Sooooo simple! The only thing I'd do differently is actually put the cubed pieces of raw chicken in a bowl, sprinkle the minced garlic, red pepper flakes, and basil, then mix it all together. That'll coat the chicken with the spices a lot better, for me at least.


And I love how the croutons give your bites that delicious taste of having used breaded chicken, without the calories!

Thursday, January 17, 2013

Re-Energized!

I know I've been pretty aloof an inattentive lately. I have been cooking, I just really haven't been taking the time to photograph the recipes I've tried or getting on the computer at home. But with the recent popularity of some of my recipes, that's all going to change! I'm back!

So! While I'm working on some deliciously simple recipes to share with all of you, check out what I've been doing while I was away - I got an Etsy shop up and running! I only have two items listed, but hopefully I'll find the time to get the ball rolling a little faster very soon! Check it out here!

Post-It Note Stands:
Silver and gray quatrefoil with purple flower

Color burst with orange flower
Stay tuned............

Sunday, October 7, 2012

Autumn Lush: Our Take on "Apple Pie Moonshine"

Phew! What a weekend! Believe me when I say that it is utterly exhausting working a full-time job, a part-time job, and trying to maintain the calendar of a pretty social young couple. I'm knackered 24/7 and feel like I never have time for anything! So you can imagine that every once in awhile I want to just let my hair down and get slightly obliterated.

During the last week of September, my hometown hosts its annual Fall Festival. My parents still live downtown where the atmosphere is lively with people enjoying the arts and crafts for sale, food vendors, and activities. There's usually a slight crispness to the air but it's generally still warm from the summer and just a lovely weekend.

Personally, I love the weekend mostly because it brings us kids together. In relation to where we grew up, my brother and his wife live several hours north, my sister is in college about an hour northwest, and I live 45 minutes northeast. With my brother's crazily-scheduled job in the oil industry, my sister not having a car on campus until this year, and my busy schedule of extra jobs, volunteering, or social events, it's difficult for all of us to get together. Fall Fest weekend is one of those times when we can almost guarantee we'll all be out at Mom and Dad's.

Because of the location of my parents' house, people are coming and going all weekend long. We park our vehicles on the street in front of the house so friends from out of town can park in our driveway, visit all of the vendors, and hang out with us for a little while without having to drive all around town looking for parking. People from all over the state (and sometimes even further) come to the little town, and there's just a buzzing, lively, warm feeling all weekend. I absolutely love it. Sometimes I don't even visit the booths - I like to just sit out on the patio with the dog (and now Mike) and listen to the sounds, watch people walk by, and enjoy being outside.

A couple years ago we began having a cookout/bonfire on the Saturday evening of the Fall Fest. Friends come early, walk around downtown, then in the evening we eat, enjoy each other's company, and have a bonfire. It's really a good time! This year, along with making a dish to pass, I spent my short culinary attention span on making a version of what's known as...

Apple Pie Moonshine
Just an FYI - this recipe is half of what they usually are. My stockpot just isn't large enough for two+ gallons!
  • 1 cups Everclear (calls for 190 proof but I used 151 and it came out great)
  • 0.5 gal. apple juice
  • 0.5 gal. apple cider
  • 3.5 cinnamon sticks
  • 2 cups sugar

Technically it's not a "moonshine" unless you follow the traditional recipe of using a liter of 190 proof moonshine, but I am completely unfamiliar with moonshine and wouldn't even begin to know where to get it, or how much to even add because apparently most are now 80 proof. So anyway... call it a moonshine, don't call it a moonshine. I don't think it matters! Maybe I'll start calling it "Autumn Lush" after my headline :)
    1. In a stockpot, combine apple juice, apple cider, sugar, and cinnamon sticks.
    2. Bring to a boil.
    3. Take off heat when cinnamon sticks lose flavor (about 3-5 minutes).
    4. Allow to cool completely (or else the alcohol will evaporate! nooooooo!).
    5. Add Everclear; stir; refrigerate.

    Be sure to keep an eye on things... it could boil over and you'll have this mess to deal with!


    I later realized I had no way to get the drink from the stock pot to the jug, so I sent Mike out for a funnel. This'll do!


    It's lovely in a small glass over ice, as shots, and even warmed up! Actually, seeing as it tastes just like apple pie, it tastes delicious no matter which way you consume it! It definitely was the cherry on top of an amazing weekend :)

      *WARNING* This drink is strong! It is super smooth and yummy and will sneak up on you! Please exercise caution! Do not drink if there is any chance you will be driving, and do not allow other possible drivers to drink. If you make this and take it to a party, make sure people are aware of its strength and are responsible enough to know not to drive or to call a cab. Driving drunk or even buzzed is dangerous!

      Sunday, September 23, 2012

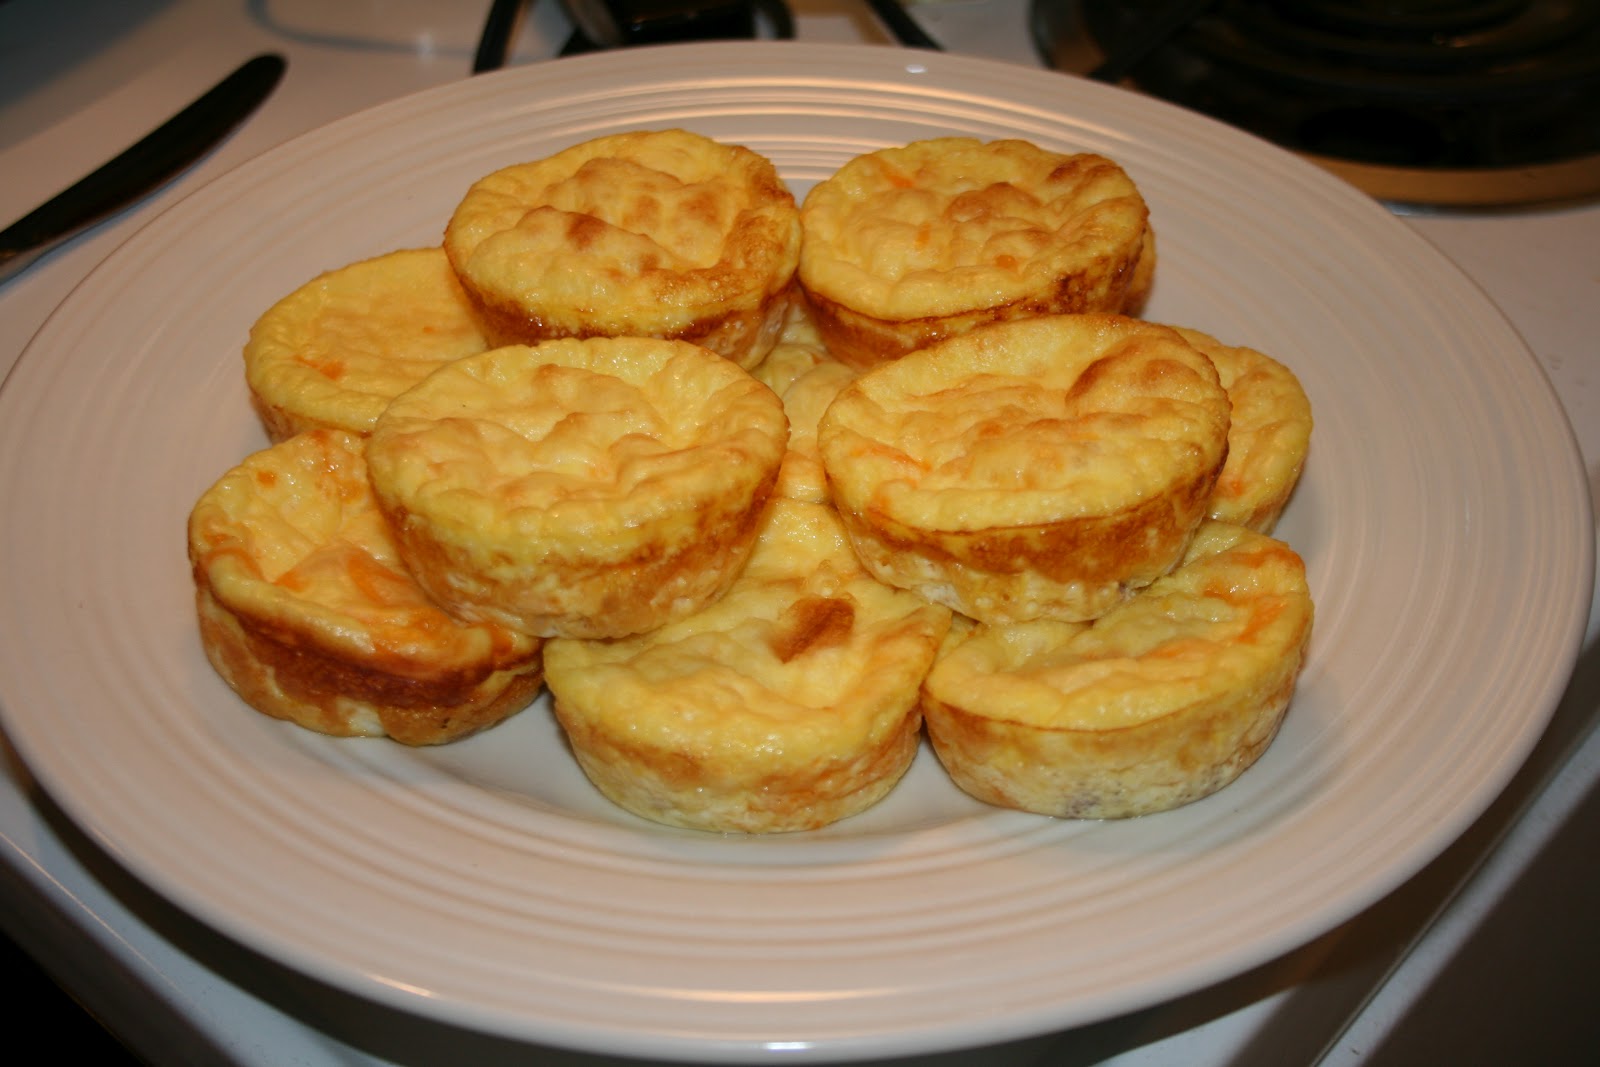
      Mini Quiches

      Love, love, love this recipe! I've tried many other complicated ones, but this has to be the quickest and easiest ever!

      These are so perfect to make at the beginning of the week - a quick re-heat in the morning and you've got a delicious breakfast! I love having an egg or two in the morning, as the protein really helps sustain me and keep me motivated during all of my early-morning computer work! 

      The other great thing about these is that they are insanely customizable! Pretty much anything you'd put in an omelet would be great. I totally would have thrown in some bacon had I had any left! Sausage, peppers, onions, salsa... whatever you want! Or nothing at all! I did ham and cheddar simply because that's what was in my fridge!

      Ham & Cheddar Mini Quiches
      • Approx. 6 eggs
      • 1 cup milk
      • Cubes of ham
      • Cheddar cheese
      Again, you can use whatever you want and however much of it you want, so besides the eggs-to-milk ratio, everything else is up to you!
      1. Preheat oven to 325°
      2. Chop ham into tiny pieces appropriate for muffin-sized portions
      3. Whisk eggs and milk together
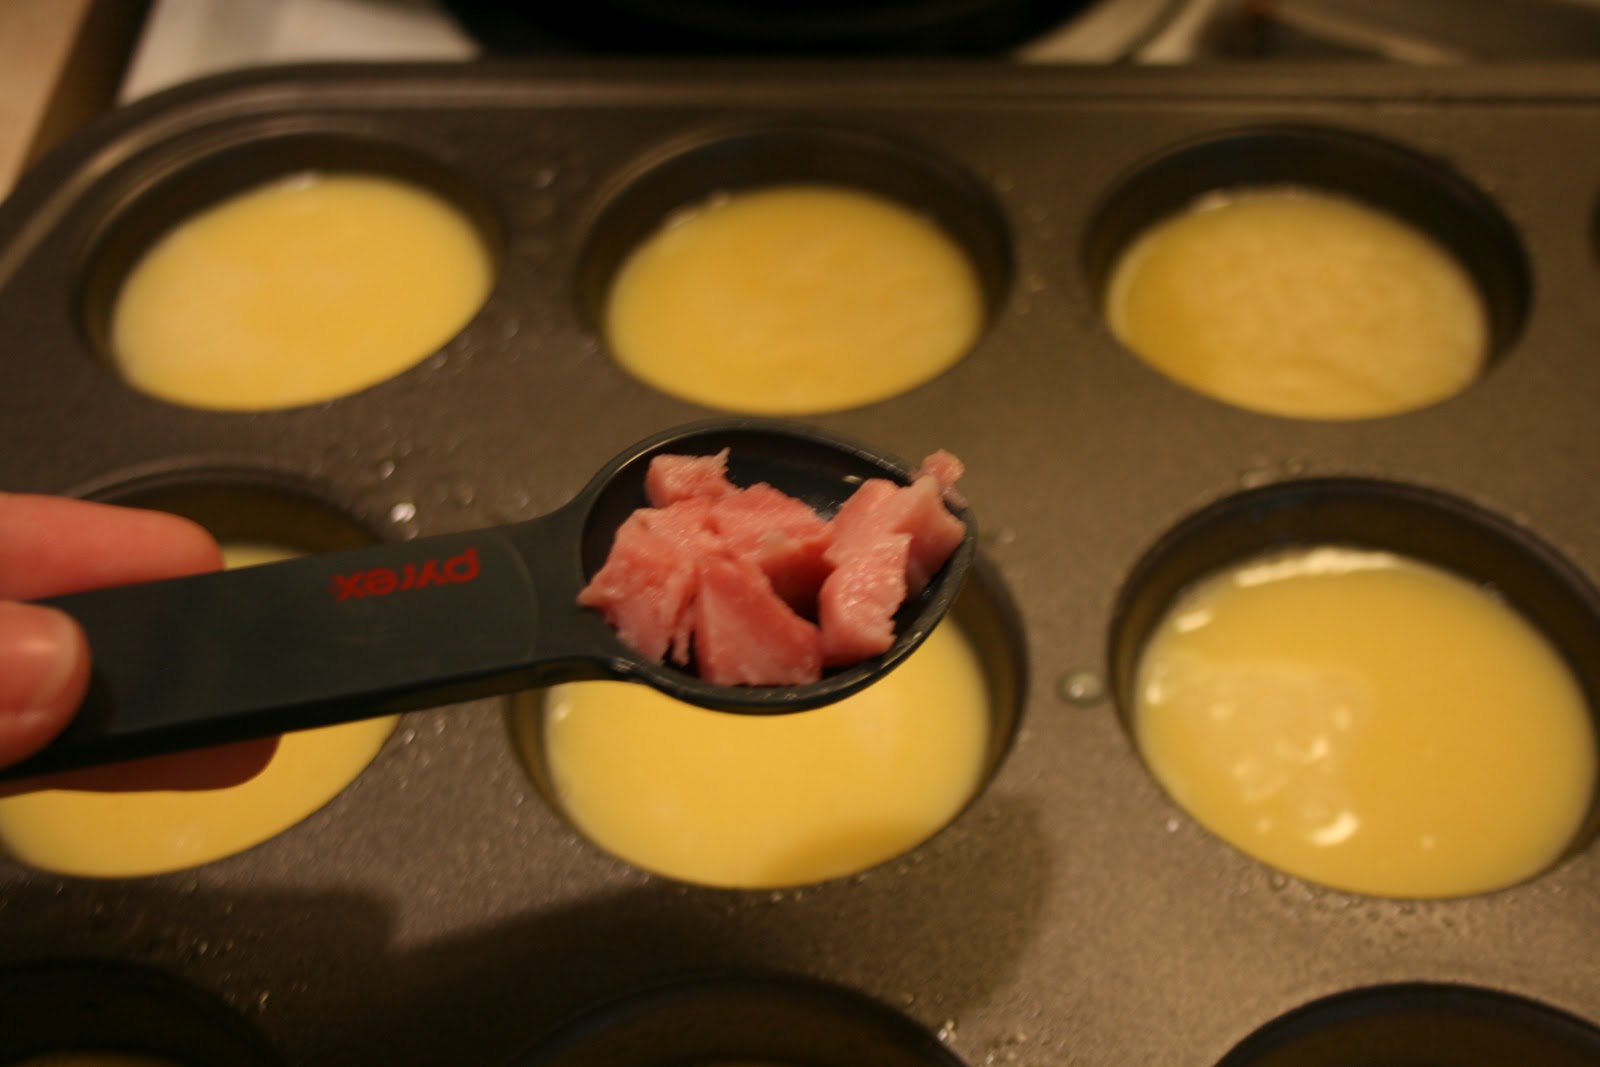
      4. Divide evenly in a lightly greased muffin tin
      5. Add ham
      6. Sprinkle cheese on top
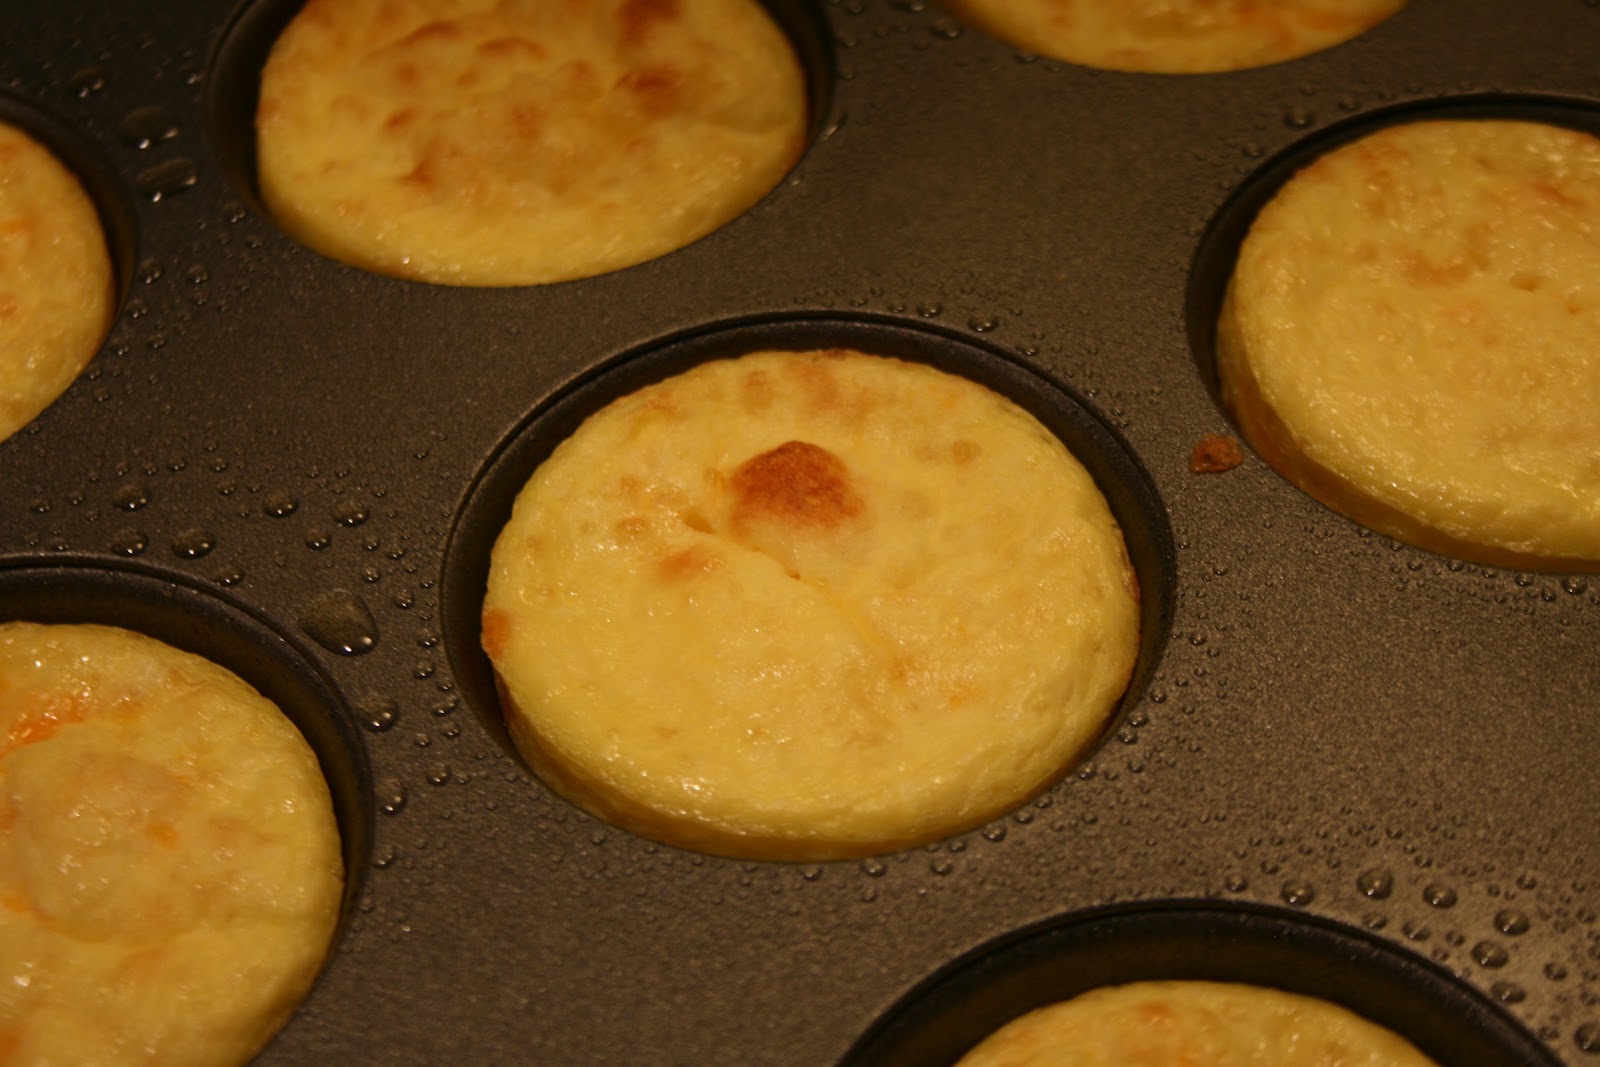
      7. Bake on middle rack for 25 minutes, or until tops begin to golden (fork should come out clean)


      They'll sink a little once they've cooled


      If you're planning to pack them up for later in the week...
      1. Allow to cool completely (doesn't take long for an egg to get cold, amiright??)
      2. Wrap individually in plastic wrap
      3. I like to eat them two at a time so I then pair them up in freezer bags
      4. Refrigerate for up to three days or...
      5. Freeze up to one month
      To reheat...
      1.  Take plastic wrap off!!
      2. Wrap in a napkin or paper towel
      3. Microwave on HIGH for 30-50 seconds
      bad times :'(

      Friday, September 21, 2012

      Nutella Crescent Rolls & Queso Blanco Dip

      Did a couple pins this past weekend! Mike and I had a BBQ to go to so who do I consult for some delish grub to bring? Why, my buddy Pinterest of course.

      I'll start out with the one that could have used some improvement. The BBQ hostess and I are Nutella fanatics, so of course I had to bring something Nutella related! And what's easier thaaaaan...


      • 1 8ct. pkg of crescent rolls
      • Jar of Nutella
      • 1/4 cup of powdered sugar
      Omg easy.
      1. Preheat the oven to 375°. Open the crescent rolls (idk why but the *pop* always startles me!), separate them, and roll them out on a flat surface.
      2. Spread them generously with Nutella.
      3. Roll crescents per package directions, starting at the wide area and ending at the point.
      4. Place on lightly-greased baking sheet.
      5. Bake at 375° for 10-12 minutes, checking often after about 8 minutes.
      6. Done baking when golden brown; remove from oven and sprinkle powdered sugar on top.

      Super, super simple to make, but in the original recipe when she says to lather the Nutella on, she means it! I didn't bother checking our jar before grocery shopping so I wasn't working with a whole lot of Nutella. I didn't "lather" so much as I just "spread." They ended up being pretty tastey, but the bread-to-Nutella ratio was off... definitely needed more Nutella. They were kind of powdered sugar-topped crescent rolls with a hint of Nutella. Good to know for next time!!

      My pride and joy of the weekend was an amazing dip. Mike and I frequent a particular Mexican restaurant in Ann Arbor and we always get queso blanco to have with the complimentary chips and salsa. We love it so much that we usually order the same small meal each time - what we've dubbed the "Mike & Sabrina Special." Mike will get one hard shell beef taco and one soft shell beef taco, and I'll get the same thing just without lettuce. Oooh the warm, soft shell... the freshly shredded cheese... along with our queso blanco, it's absolute bliss!

      So you know I've been searching for a queso dip recipe that wasn't too complicated! A little search on Pinterest and BAM! Up pops this one!

      Let me start off by saying that the only crock-pot I have is a teeny tiny one that just plugs into the wall. Seriously. It only holds 16 ounces. No temperature gauge, nothing. I ended up halving the recipe because there was no way all of that cheese was going to fit!
      • 1 lb white American cheese
      • 1/2 cup milk
      • 2 Tbs pickled jalapeño juice
      1. Cut cheese into chunks, put in crock-pot (the smaller the chunks, the quicker it'll melt).
      2. Add milk and jalapeño juice.
      3. Simmer until melted.
      Source
      I ended up forgetting to take any sort of photo but the one above basically looks exactly like how my dip turned out.

      I'm sure you fellow domestic disasters are loving me right now, yeah? Seriously, how could this dip get any easier? It sounded too good to be true so I was sure it wasn't going to taste like the kind from the restaurant. But to my surprise (and excitement), I was wrong! It was uh-mazing!

      I made it the night before the BBQ so I transferred it into some tupperware and refrigerated it. It was a solid block of cheese when I put it back in my little crock-pot after arriving at the party, so I added a tiny bit of extra milk, a little more jalapeño juice, and even cut up 2-3 slices of pickled jalapeños to give it a little more kick. It was fantastic. I'm soooo glad I purchased enough ingredients for a whole batch because the half batch was devoured at the BBQ. The following day I used the rest of the cheese and made a little pot for just my hunny and I ;)

      BBQ View
      Mike and I on the patio

      Tuesday, September 18, 2012

      Orange Dream Layered Squares


      Ugh, I've got a major pinover this morning! Or pinterestover? Ok, how about we just call it a Pinterest hangover and be done with it! You know how that goes... it's almost bedtime, you're a little bored, you don't want to start a new episode of something or put a movie in because you know you need to snooze soon.

      So what do you do? Get on the computer. Maybe surf Facebook or Imgur. The Cheezeburger Network? You can haz! Next thing you know it's a good couple hours past your bedtime and you've got a zillion Pinterest tabs open of things you want to check out before you commit to pinning!

      Don't deny it - this happens to you, too! And now here we sit the next morning, ready to nod off because we got to bed too late. Oooh Pinterest, what have you done to us?!

      If there's one thing you should know about me, you should know that nothing ever goes right for me. Every time I attempt practically anything new, there are all sorts of hiccups. I've flooded glass-top stoves with Hamburger Helper boil over, dented metal pan lids by running cold water over hot pans, creating a vacuum. I've tried to improvise when I didn't have any mixing bowls by using the biggest Pyrex dish I had, resulting in whipped cream and cream cheese all over the counter backsplash and my own chest. I've tried to split up room temperature crescent rolls, pour Yorkshire pudding mix into a too full muffin tin of boiling oil, and even managed to somehow ruin pre-made sugar cookie mix.

      So, as you can imagine, I get pretty excited and proud of myself when something goes according to plans! I've made the following dessert a couple times and it's been a hit! It's easy peasy (perfect for ME!), quick, and scrumptious! Who doesn't like orange creamsicles?!

      Orange Dream Layered Squares (original pin)
      • 6 graham crackers (I prefer honey), finely crushed
      • 2 Tbsp butter, melted
      • 1/2 cup orange juice
      • 1 3oz pkg orange flavor Jell-O
      • 1 8oz pkg cream cheese, softened and divided
      • 1 8oz tub thawed whipped cream, divided
      • 1/2 cup cold milk
      • 1 3.4oz pkg vanilla instant pudding
      • 1 tsp orange zest (I did not include)
      1. Mix graham cracker crumbs and melted butter; press onto bottom of 8-inch square pan. Refrigerate while preparing rest of recipe.
      2. Microwave orange juice in a microwavable measuring cup on HIGH 1 min. Add to orange Jell-O mix in small bowl; stir 2 min. until completely dissolved.
      3. Gradually add juice/Jell-O mix to half the cream cheese in medium bowl, beating with mixer after each addition until blended.
      4. Whisk in 1 cup whipped cream; spread over crust. Freeze while preparing next layer.
      5. Beat remaining cream cheese and milk in separate medium bowl until blended. Add dry pudding mix; beat 2 min. Stir in remaining whipped cream and zest; spread over gelatin layer. Refrigerate 3 hours.

      Theirs
      Mine

      Not as gorgeous, of course, but when does it ever work out that way? I thought it was quite presentable for not being done by a professional and not perfected for photos! What's even better is that there were only four of us at dinner that night and I only went home with three pieces left!

      The best thing about nailing a new recipe on the first try? My boyfriend exclaiming, "Call the Food Network and get this girl a show!!" ♥